How to Draw Speech Bubbles
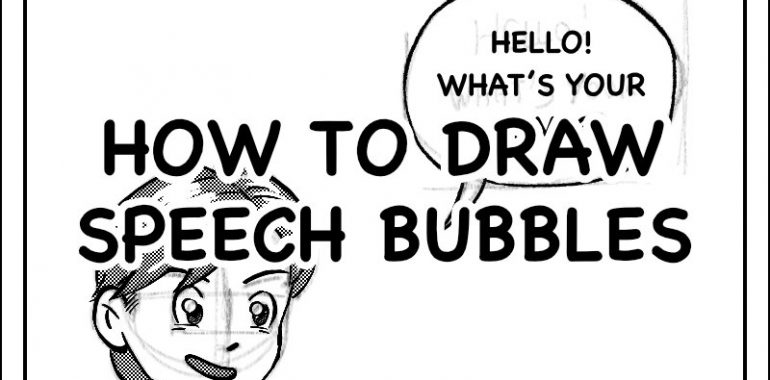
How to Draw Speech Bubbles
Speech bubbles is the most currently used bubble in manga and comics. It is used to convey the speech of the characters and is therefore a key ingredient of any manga story. Speech bubbles are not complicated to draw, but the process requires a bit of attention to obtain a good looking result.
You can have a look at my article on the different types of text bubbles that exist to discover other kinds of bubbles.

Speech bubbles ruler on Amazon
The process of drawing speech bubbles
Drawing speech bubbles, even though it might seem trivial, requires some care to be made right.
Here is a quick overview of the process of drawing speech bubbles:
- First, before you start drawing, you have to prepare your dialogs.
- Then you have to prepare the layout of your bubbles.
- And finally you can draw your speech bubbles.
Prepare your speech bubbles
The preparation of the speech bubbles, like for the drawing part of the manga, shall be made when you script your manga pages.
You have to work your dialogs and narrations. You shall keep what is essential for your story, and get rid of the unnecessary. Of course, you must also take into consideration the emotions of the scene, as well as the personality of the characters. The idea is simply to avoid adding dialogs for the sake of it.
Also, be conscious of the category of readers you want to attract. Younger population might get afraid or bored when seeing too much text and skip reading it. On the other side, adults might be expecting deeper dialogs.
Prepare your speech bubbles layout
Preparing the layout of your speech bubbles is as important as preparing the layout of the panels in a manga page. This ensures that your readers will read your bubbles in the correct order. You cacn find more details on that specific topic in my article on laying out speech bubbles.
Drawing speech bubbles
The text in your speech bubbles will have as much importance as your drawing for your story.
Therefore here is one rule to remember:
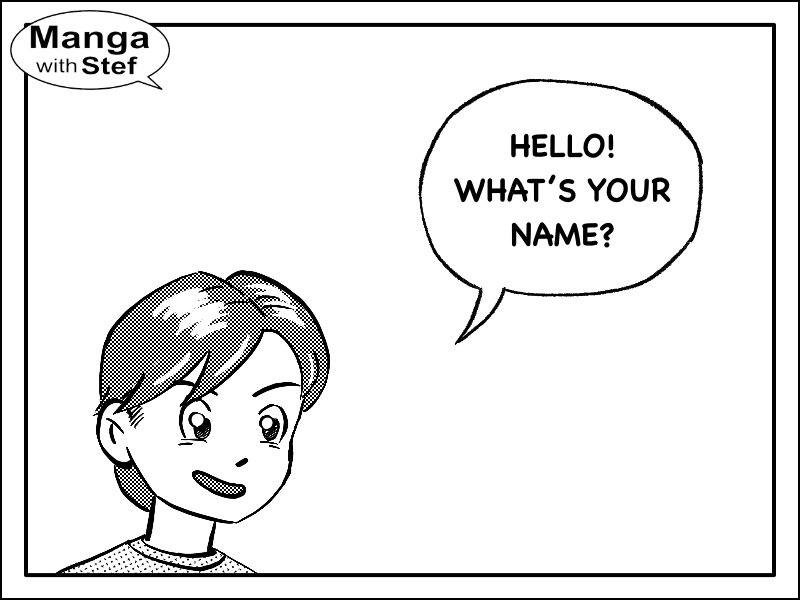
The text is not meant to be squeezed and distorted to fit into the bubbles. Bubbles are here to wrap the text and make it obvious.
For this reason, I would advise following the process described hereafter.
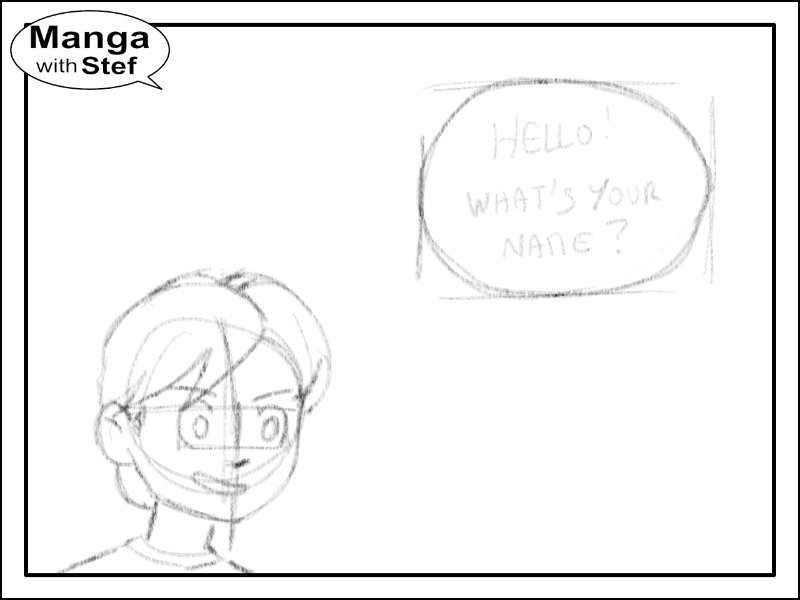
Write the text first
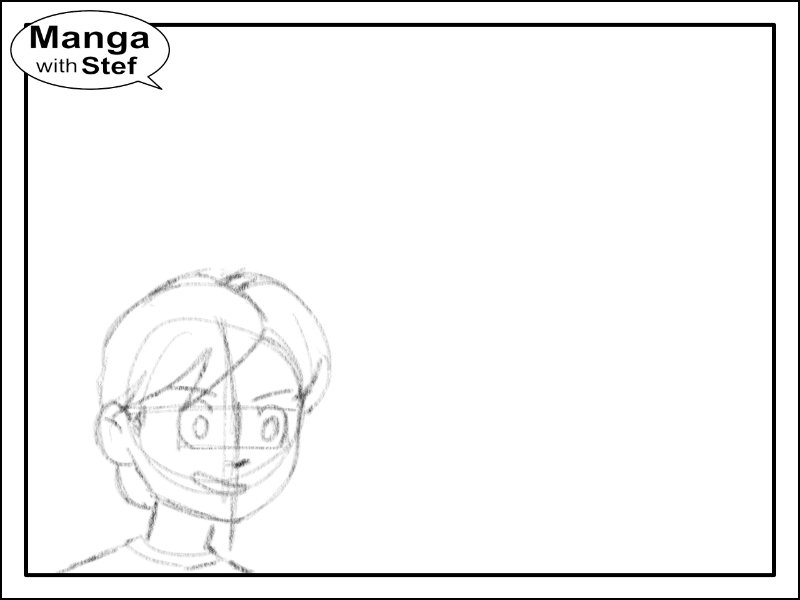
When sketching your bubbles, start by writing the text before drawing the bubble itself.
Too many times, amateur artists will draw the bubbles first, and then they will try to cram the text inside. This ends at best not looking good. But this can lead them also to have to add speech bubbles to the detriment of the drawing. And this can even lead to parts of the text being stripped if they cannot be fit in the panel.
Another aspect to have in mind is that text in speech bubbles is generally justified to the center.
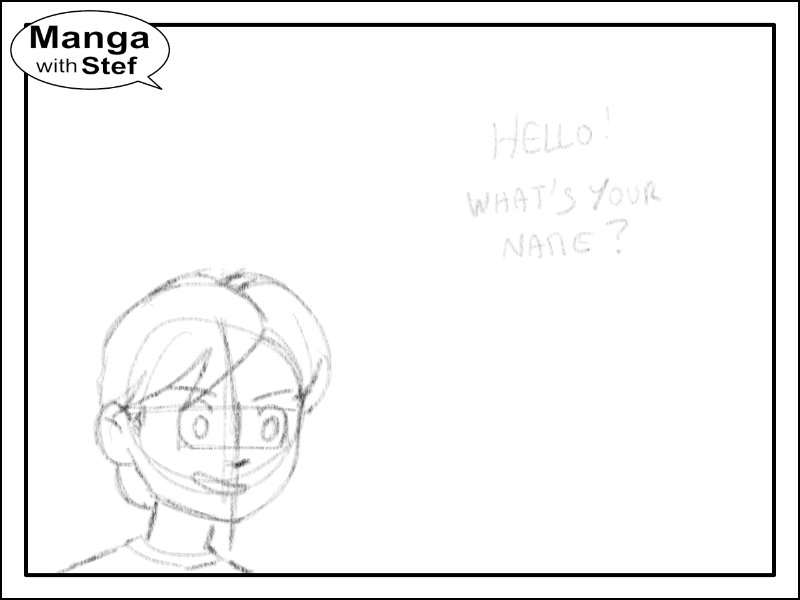
Control the space around your text
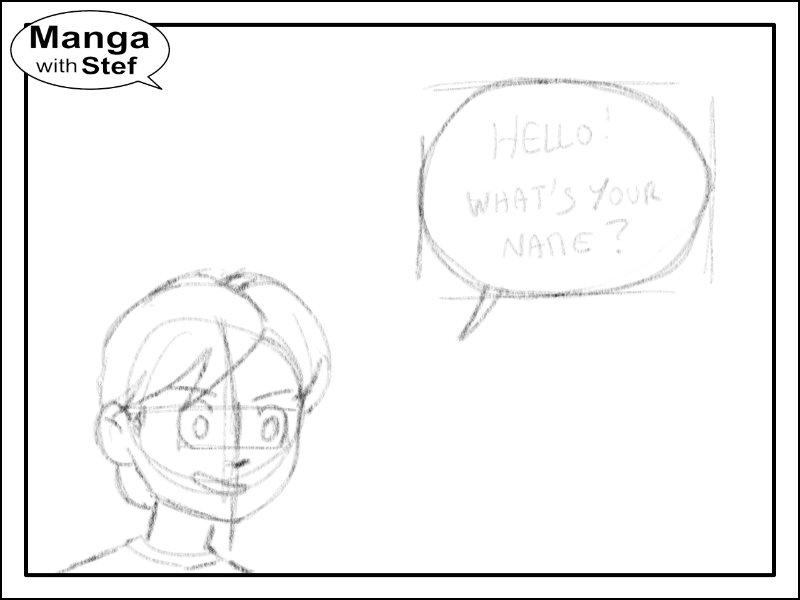
Once you have written your text in your panel, the next step is to draw the shape of your bubble around it.
To make this text pop out, the objective will be to have the text centered within the bubble.
You should have somewhat equal amount of space on the left and on the right of the text. And somewhat equal amount of space above and below the text.
One approach can be to center a rectangle around the text.
The sides of this rectangle can then be used as tangents to draw the speech bubble border. This will ensure the space around the text is appropriately set.
Add the tail to your speech bubble
The final stage is to add the tail.
Adding a tail isn’t compulsory if there is no ambiguity regarding who is speaking. But I find it good to have one as the tail is also an indication of that someone is speaking at an audible level.
And add it systematically if you have more than one character in your frame. Some artists take an habit of not adding tails, and from my own experience it gets really confusing when two characters are having a conversation.
For the drawing itself, again nothing complicated. There is just one rule I would follow to make it look good:
The tail shall be pointing toward the speaker’s head or mouth.
And at the minimum, the tail should be pointing toward the speaker. For that purpose, you can move the tail around the shape of the bubble. It mustn’t absolutely be at the bottom.
Inking your speech bubbles
For the inking of the bubbles, you have different options. You can do it traditionally (that is to say with an ink pen), including the text, or you can do it digitally.
You can also mix-up both techniques by drawing the bubble traditionally, and adding the text digitally. This is the most current practice in the world of manga.
If you are looking for a font for your speech bubbles, be aware that manga and comic generally use a font called “Comic”. Such font should be readily available in your drawing apps, but if needed you can find a link to a free one in my article on fonts for manga.
I can’t draw perfectly round speech bubbles
If that’s a worry for you, you have a few options.
- First, you can use French curves. French curves is a kind of ruler that provides arcs of different sizes (see the picture below for a better understanding).
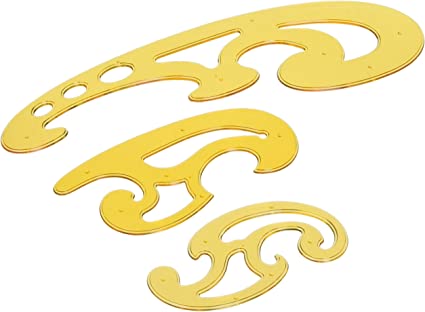

French curves on Amazon
- Second option, is to draw it piece by piece through smaller strokes. The line will look a bit jagged though, but with some practice you should be able to control that issue.
- And a third option is to draw them digitally. For instance Photoshop and Paint Clip Studio in the paid application domain, and MediBang Paint, Krita or Fire Alpaca in the free applications domain have tools to draw ellipses or bubbles. In Procreate for instance you just have to draw an oval shape freehand and keep the Apple Pencil down at the end of your stroke.
But, if this can bring you some relief, be aware that many pro manga artists don’t draw perfectly round speech bubbles. Therefore don’t look for too much perfection on this point.
I hope you found that article useful. Do not hesitate if you have comments or questions.
Stef